

Beginning at the Beginning
Beginning at the Beginning
When my daughter and I restarted this blog, I decided to show first our side and back yard gardens and pathways because they are the latest areas that we have been working on. They have done very well this year but, as every gardener knows all too well, disaster may be just around the corner! So, while they are looking so good, I wanted to start with those areas. Beginning with this post I will try to show some of our front yard. There wasn’t much here when we moved in except for some dead-ish grass, a couple of oak trees that were in the process of dying and some hemlock trees used as foundation plants. Although we had to take down the oak trees shortly thereafter, we really didn’t start any landscape improvement projects for a few years. We needed that time to settle in, and then begin to learn what plants worked in an environment that was totally new to us.
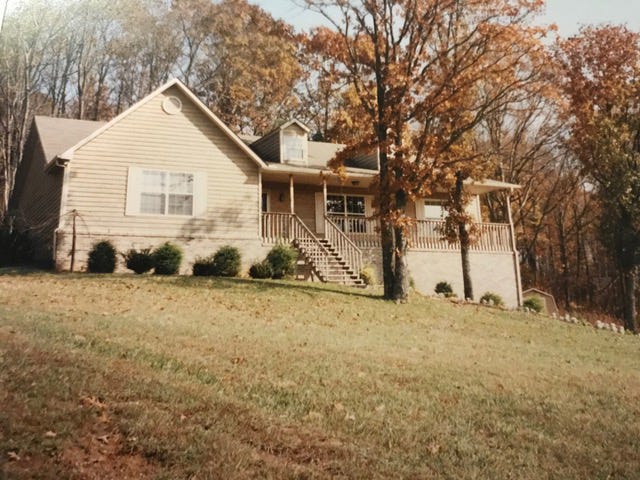
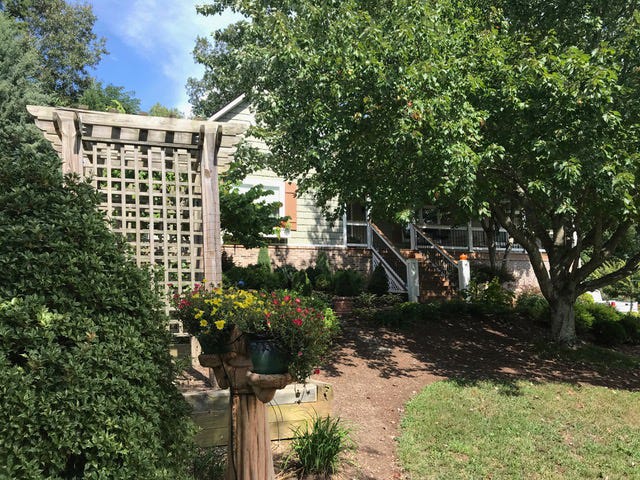
The photo on the left shows our home when we bought it. You can see the very uninspired landscaping. The tree visible on the far left of that photo, next to the house, is a weeping cherry. It grew (very fast!) into a beautiful pink flowered weeping tree—that was way too big to be that close to the house. The photo on the right is our home as it is now. We planted an October Glory maple tree; it is about 20 years old and gives our front porch much needed shade. At one point we planted a Hick’s yew hedge in front of the foundation. It’s one good quality was that it was evergreen. But it required constant pruning and it was very difficult to get a ladder behind it, if needed.
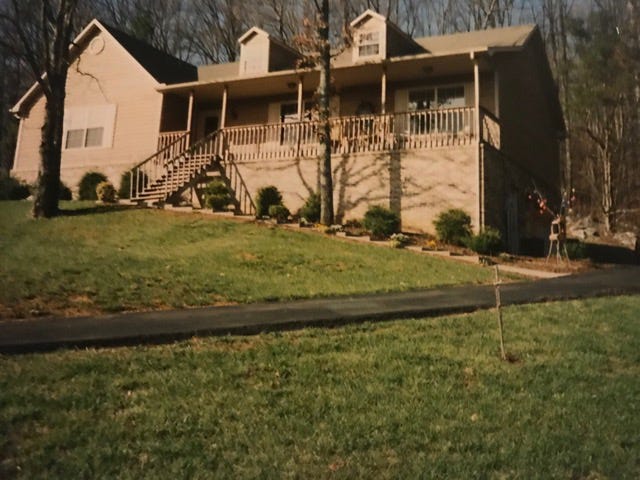

Another before and after photo. The first one shows our home from a different angle; as you can see, it is on quite a slope. The second one was taken a month or so ago from about the same angle. The first photo shows the two oak trees that had to come down, and the hemlocks (trees!) used as foundation plants. (One survived; we have it in our side yard border, and it is HUGE.) While we did like the dormers, we removed them because they leaked and they served no function since we don’t have an upstairs.The second photo is much more inviting, don’t you think?? The plant in the foreground of this photo is a white flowering angel trumpet; it grows to about seven feet tall.The dark plant in the background is a Black Diamond Red crepe myrtle; pretty when in bloom and a great landscape addition even when not in bloom.

These two photos were taken a few weeks ago from our front steps, first looking to the left and then to the right. You can see how much we have changed the landscape during the years we have lived here!! It took us awhile, many trials and errors, to finally “get it right”. The little round balls are dwarf Hetz midget arborvitae, behind them are a relatively new (new to me, anyway) plant called Blue Cascade Distylium. Next medium height loropetalum and behind them are small pyramid junipers. Last but by no means least, the landscape light shown here is actually stained glass. And at night it really comes into it’s own. This is an attractive and very welcoming entrance to our home.

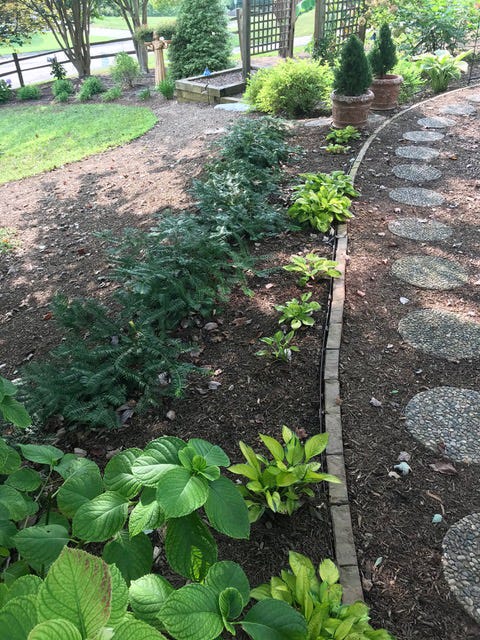

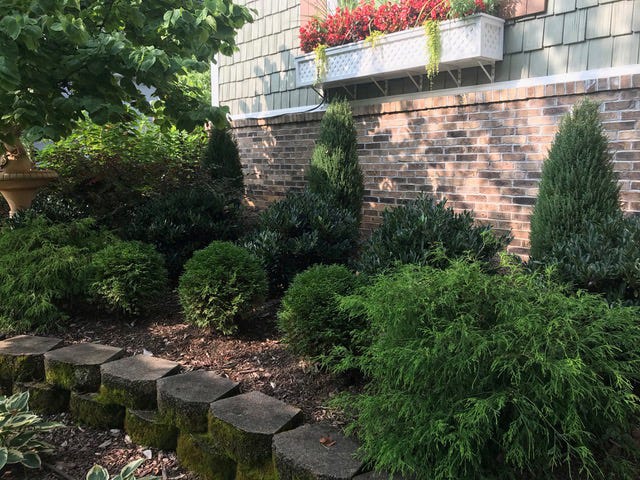
I wanted to show you these areas of our front yard because they each solved problems associated with the sloping landscape. The first photo shows a closer look at the red crepe myrtle. We had dwarf loropetalum under it, but they really didn’t do well. We both love daylilies, so we underplanted it with Stella D’Oro and Purple Stellas. So far so pretty. The far left plant in that photo is a needlepoint holly; next along the fence are a variety of gold spireas. The rest of the plants echo the other side of the walk. This area is steeper than it looks, so all these easy care plants are really working well. The next photo is across the walk from the left side of our house. This area also is very sloped; the dark green plants are a form of low growing plum yews. We put them in last year and will probably add another row next year. The little hostas, Rainforest Sunrise, in front of them need to be filled in but are such a pretty contrast to the yews. The last photo is just below the red crepe myrtle. You get an idea of how steep the slope here is, from how high the retaining wall is. We echoed the burgundy of the loropetalum with a burgundy weeping Japanese maple. Over all we are really pleased with this part of our front yard.

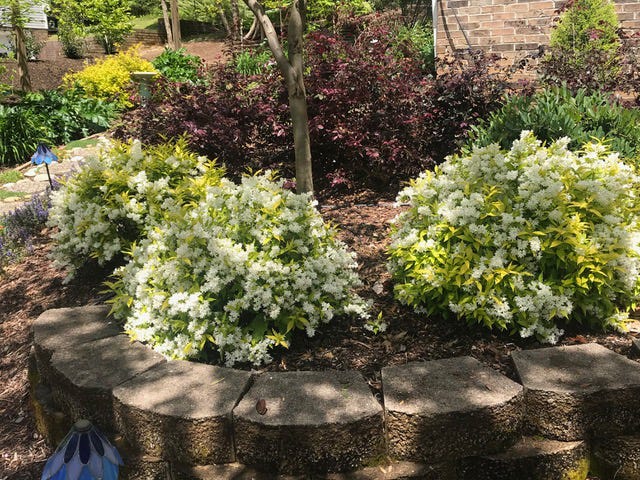
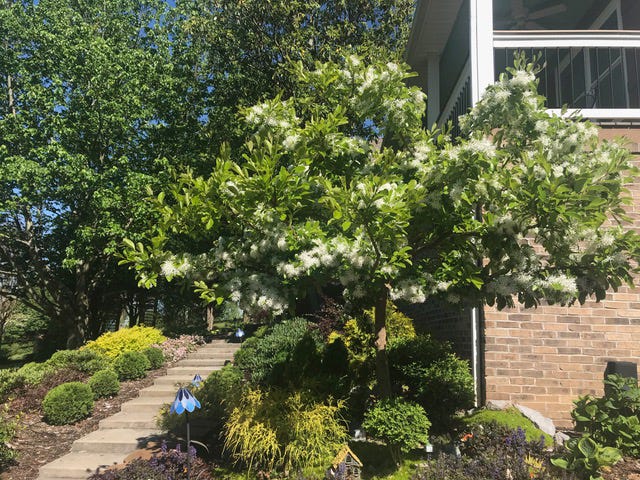
The first two photos here are of the corner where the front path joins the side yard pathway shown in Beginning Again. The tree is an outstanding redbud called Rising Sun. It contrasts nicely with the burgundy loropetalum. It is in the same spot as the dearly departed weeping cherry. It is probably a better size for our house, but I sure liked that old cherry tree! The little bushes under it are called Chardonnay Pearl deutzias. They just dazzle in the spring. Even when not in bloom they are a golden lime color that lights up the area in front of the loropetalum. And the last photo shows a white flowering Chinese Fringe tree at the entrance to our front walk. It an attractive small tree and shades one of my faerie gardens—which I will show you in another post.
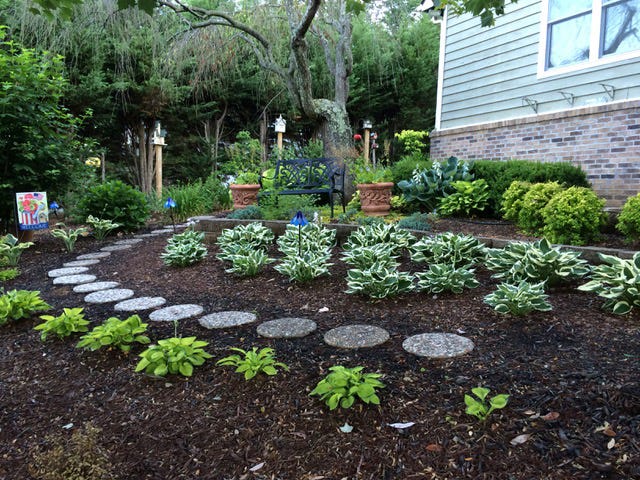
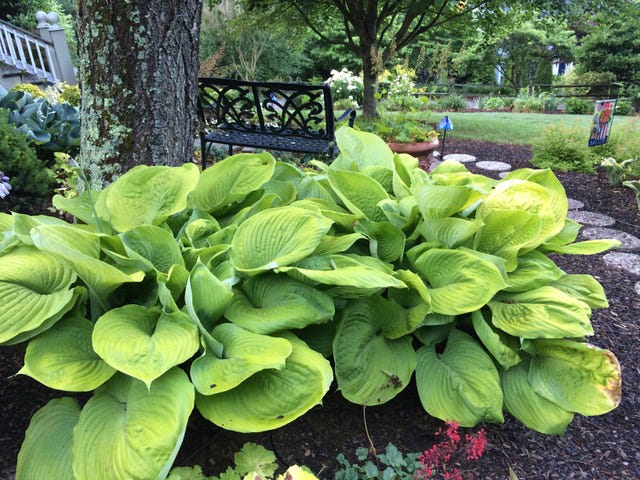
The last two photos I wanted to show you are of one of the earlier incarnations of our front yard. We put in a retaining wall to make it easier to plant in front of the foundation. Then we planted these Patriot hostas (a great choice that was recommended by a friend who works at Lowe’s) next to the wall, and the small hostas, Rainforest Sunrise, on the other side of the walk. The Sum and Substance, in the last photo are my favorite hostas. We had to move these when the cherry tree died. Although they are still alive, we haven’t quite found the perfect spot for them yet.
Final thought:
Beginning at the beginning is always a good idea when starting a new project! But as every gardener knowns, even with the most well thought out plans and with very careful planting, plants will sometimes need to be replaced–and inevitably in the middle of the border. Never be afraid to toss out the “begin at the beginning” plans and go in an entirely new direction. That is the beauty and fun of gardening.